
Built by Installers, for Installers
You have found a constant, an ignition and a ground, and you have tested all three. Now you have to connect them in a way that survives potholes, heat cycles and a customer who will never look behind the dash. This lesson is about three habits that separate a clean install from a ticking one: fuse what you add, make connections that hold, and put the wire where nothing can grab it.
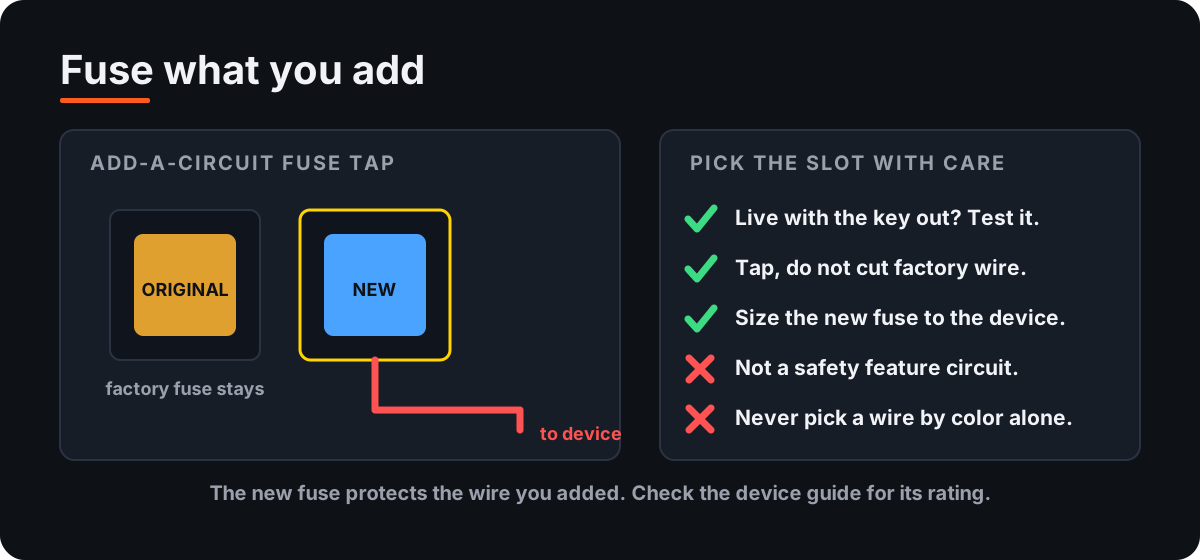
A fuse protects the wire, not the device. If a wire you added shorts to metal, the only thing that stops it from heating up is a fuse, so every power feed you add needs one, close to where it taps in. An add-a-circuit fuse tap is a common way to do it: the factory fuse stays in its slot, the tap gives you a second fused output, and you do not cut any factory wire.
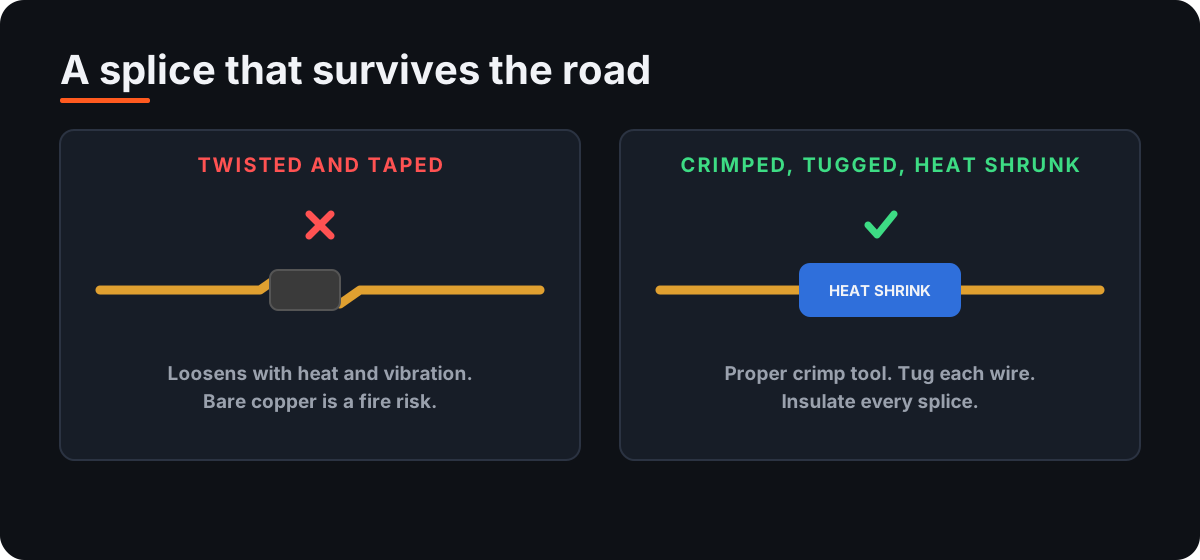
A vehicle is a shaker table with a heater. Everything behind the dash moves, warms up and cools down every day. A twisted and taped splice looks fine for a while, then it loosens, corrodes or leaves bare copper next to metal. A crimped splice made with the right tool, tugged hard to prove it, and covered with adhesive heat shrink holds for years.
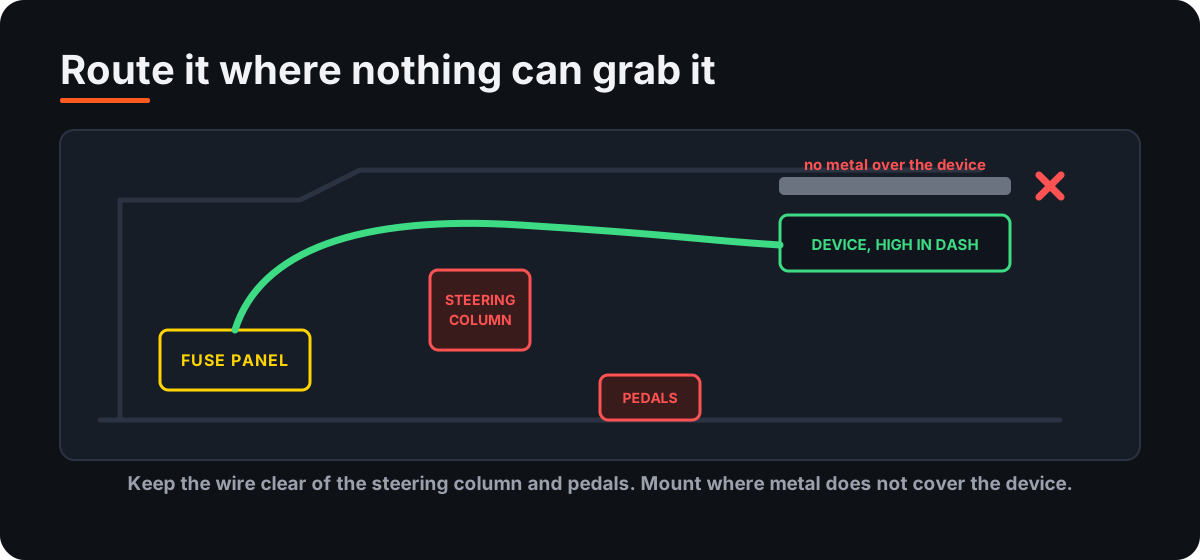
Wire routing is where installs turn dangerous. A loose wire near the steering column can wrap around it. A loose wire near the pedals can catch a foot. Keep everything clear of both, follow factory harnesses where you can, and secure the run with ties so it cannot sag into a moving part.
Think about the device too. GPS and cellular antennas need a clear view, so mount the device where metal does not sit over it, up high in the dash is a common spot, and keep it away from big metal brackets. A great wiring job on a poorly placed device still fails on signal.
Yes. Any power wire you add should have a fuse close to where it connects, sized to the device and wire per the installation guide. The fuse protects the wire.
A crimp splice made with a proper crimp tool, tugged to prove it, and covered with heat shrink or the connector's own insulation.
Away from the steering column and pedals, following factory harnesses where possible and secured with ties so nothing can sag into a moving part.
Built by Installers, for Installers.
Constant. Ignition. Ground. API Signal.
Join the API Signal installer network and find install work near you. We install GPS, dash cams and telematics across GA, SC, NC, TN, VA, AL, FL and MS.